
To keep gaming gear clean and working longer, regular, preventative maintenance is key. This involves routine dusting, wiping down surfaces, and deep cleaning components like keyboard keycaps and controller crevices. Using appropriate tools and cleaning solutions prevents grime buildup, sticky keys, unresponsive buttons, and connectivity issues, ultimately extending the lifespan and ensuring optimal performance of your valuable peripherals for platforms like Steam, Fortnite, and Xbox Game Pass.
Ever had a crucial moment in Fortnite ruined by a sticky ‘W’ key, or a critical headshot missed because your mouse felt sluggish? These aren’t just minor annoyances; they’re often symptoms of neglected gaming gear. For PC gamers, especially those spending countless hours in virtual worlds on platforms like Steam or enjoying an extensive library through Xbox Game Pass, the condition of your peripherals directly impacts your performance and overall enjoyment. Neglecting your equipment doesn’t just make it look grimy; it actively shortens its lifespan and degrades its functionality.
The good news is that keeping your gaming setup pristine isn’t rocket science, nor does it require a dedicated cleaning crew. It’s about building simple, consistent habits and knowing the right techniques. This guide offers a realistic checklist designed to help you keep gaming gear clean and working longer, ensuring your controllers, keyboards, and headsets remain responsive and reliable, whether you’re battling it out in Europe, exploring open worlds in North America, or dominating servers in South America.
The Unseen Threats: Why Cleanliness Matters Beyond Aesthetics
It’s easy to overlook the slow accumulation of dust, skin oils, and snack crumbs. After all, you’re focused on the game, right? But these seemingly harmless invaders are silent assassins for your hardware. Dust can clog fans, leading to overheating. Skin oils and food particles can gum up switches, making keys feel mushy or unresponsive. Moisture, even from sweaty hands, can corrode internal components over time. These issues aren’t just frustrating; they lead to costly replacements or repairs.
Think about a mechanical keyboard. Each keycap sits on a switch. Over time, minuscule particles can fall between the keycap and the switch housing, interfering with the switch’s smooth operation. Similarly, on a game controller, the tiny gaps around buttons and joysticks are prime real estate for dirt and debris to settle, eventually affecting button presses or stick drift. Regular maintenance acts as a preventative measure, saving you headaches and money down the line.
The Right Tools for the Job: Your Cleaning Arsenal
Before you dive into cleaning, gather your tools. You don’t need a professional kit, but having these basics on hand makes the process much more efficient and safer for your electronics:
- Compressed Air: Essential for blasting dust out of crevices. Hold the can upright to avoid expelling liquid propellant.
- Microfiber Cloths: Soft, lint-free, and great for wiping surfaces without scratching.
- Isopropyl Alcohol (70% or higher): Dries quickly, excellent for sanitizing and removing stubborn grease. Avoid anything lower than 70% as it contains too much water.
- Cotton Swabs or Q-Tips: Perfect for intricate areas and tight spots.
- Small Brush (soft bristle, like a clean paintbrush or makeup brush): Useful for sweeping away loose dust before using compressed air.
- Keycap Puller: If you have a mechanical keyboard, this is invaluable for safe keycap removal.
- Small Pry Tools (plastic preferred): For carefully separating controller shells, if you’re doing a deeper clean.
Your Weekly Wipe-Down: Quick & Easy Maintenance
This is your first line of defense, designed to prevent major buildup. Dedicate 5-10 minutes once a week, perhaps after a long gaming session or before starting a new one.
Keyboards: The Crumb Catcher
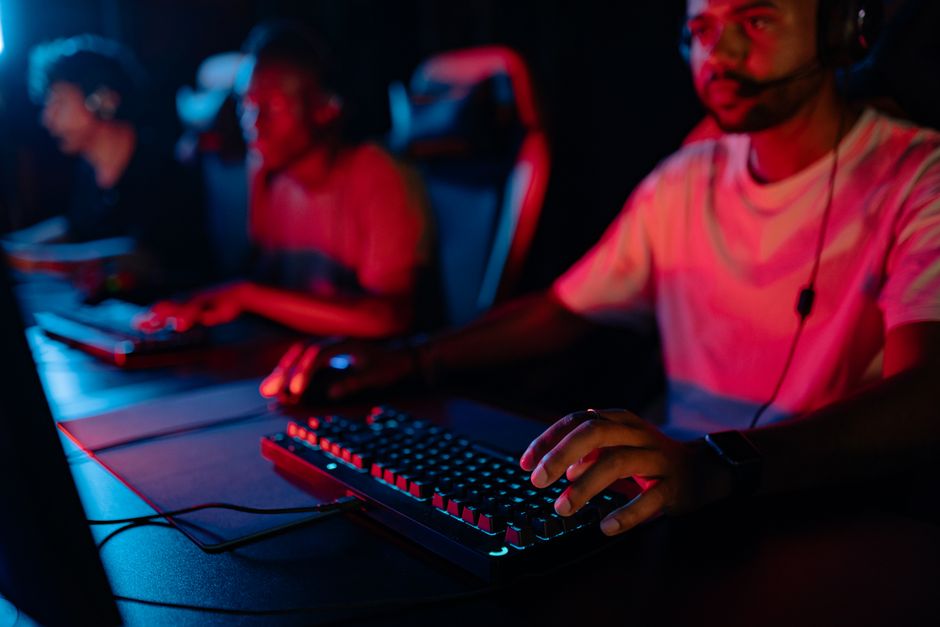
For most gamers, the keyboard is the primary input device, and often, the dirtiest. Food crumbs, skin flakes, and general dust love to settle between the keys.
PC vs Console vs Handheld: Which Gaming Setup Fits Your Lifestyle?
- Power Off: Always unplug your keyboard first.
- Upside Down Shake: Gently turn your keyboard upside down and give it a few soft shakes to dislodge larger debris.
- Compressed Air Blast: Use compressed air to blow out dust and particles from between the keycaps. Work systematically across the board.
- Surface Wipe: Dampen a microfiber cloth with a small amount of isopropyl alcohol and gently wipe down the keycaps and the frame. Avoid excess moisture.
Gaming Mice: The Hand-Oil Magnet
Your mouse is constantly in contact with your hand, accumulating oils and dirt.
- Unplug: Disconnect the mouse.
- Body Wipe: Use a microfiber cloth slightly dampened with isopropyl alcohol to wipe down the entire body, buttons, and scroll wheel. Pay attention to grooves and texture.
- Sensor Check: Gently clean the optical sensor area with a cotton swab dampened with alcohol. This is crucial for tracking accuracy.
- Mouse Pad: Don’t forget your mouse pad! Most fabric pads can be hand-washed with mild soap and air-dried.
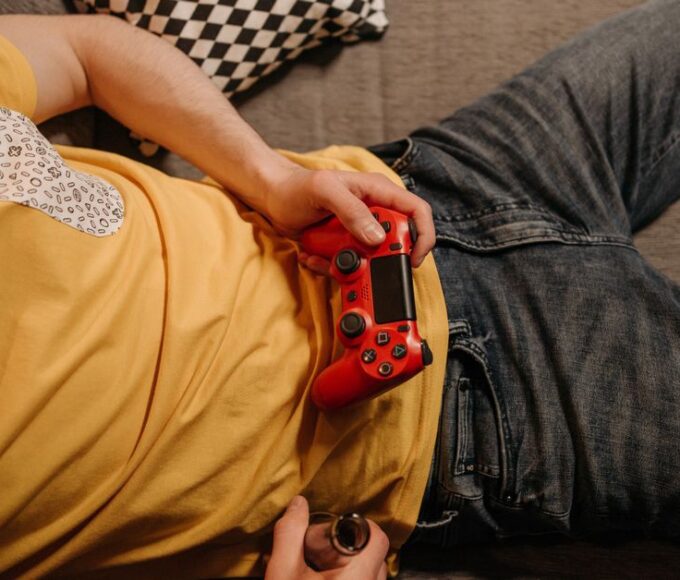
Controllers: The Crevice Collector
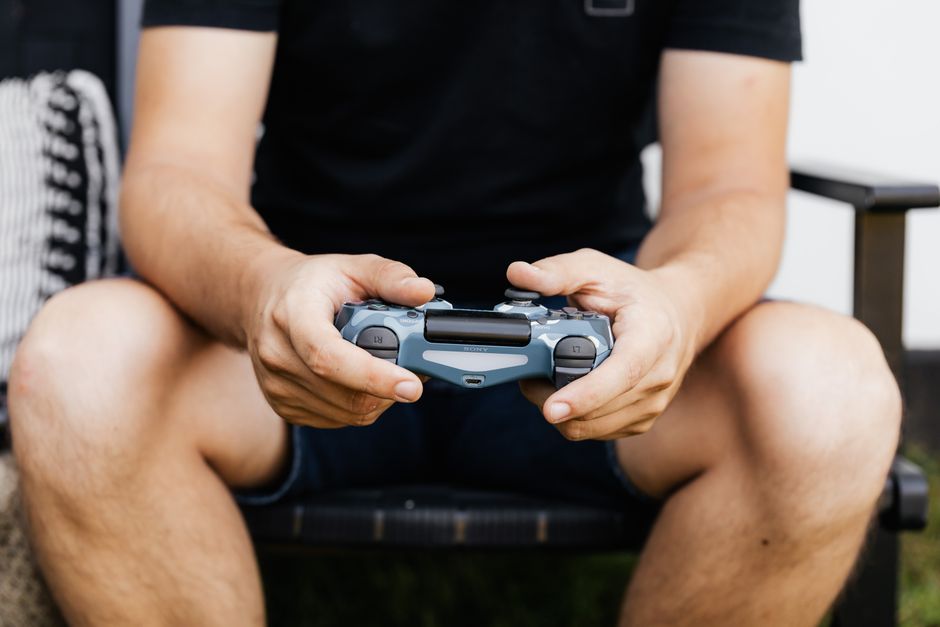
Whether you’re using an Xbox controller for Game Pass titles or a third-party gamepad for PC, the joysticks and buttons are prime spots for grime.
- Power Down: Remove batteries or unplug.
- Surface Clean: Wipe down the entire controller with an alcohol-dampened microfiber cloth.
- Crevice Attention: Use cotton swabs dipped in isopropyl alcohol to meticulously clean around the buttons, triggers, D-pad, and especially the base of the joysticks. Rotate the joysticks to expose all angles for cleaning.
The Monthly Deep Clean: Taking It a Step Further
Once a month, or more frequently if you game heavily or eat near your setup, it’s time for a more thorough clean to truly keep gaming gear clean and working longer.
Keyboards: The Full Keycap Treatment
This is where your keycap puller becomes essential for mechanical keyboards. For membrane keyboards, you’ll be limited to surface cleaning.
- Photo Reference: Take a picture of your keyboard layout before you start. Seriously, you’ll thank yourself later.
- Remove Keycaps: Use your keycap puller to carefully remove all keycaps. Store them in a bowl.
- Clean the Base: Now with the keycaps off, use your brush to sweep away loose debris, then blast the exposed switches and plate with compressed air. Follow up with a cotton swab and alcohol for stubborn spots.
- Clean Keycaps: Wash the keycaps in warm, soapy water (a small amount of dish soap works wonders). Swish them around, scrub gently if needed, then rinse thoroughly. Lay them out on a towel to air dry completely for several hours, or even overnight. This step is critical; ensure they are bone dry before reattaching.
- Reassemble: Refer to your photo and carefully reattach each keycap.
Headsets: Comfort & Hygiene
Headsets accumulate sweat, hair products, and skin oils. This not only affects hygiene but can degrade the earpad material.
- Power Off: Disconnect your headset.
- Earpads: If your earpads are removable, take them off and clean them according to the manufacturer’s instructions. Many fabric pads can be hand-washed. For pleather or leather pads, wipe them down with a damp cloth and a very diluted mild soap solution, then follow with a clean, damp cloth and dry immediately.
- Headband: Wipe the headband with a slightly damp cloth.
- Microphone: Gently clean the microphone foam (if applicable) and boom with a cotton swab lightly dampened with isopropyl alcohol.
Beyond the Basics: Advanced Tips & Regional Nuances
While the core principles of keeping gaming gear clean are universal, some regional differences or advanced considerations can enhance your maintenance routine.
Environmental Factors: North America vs. South America vs. Europe
- Humidity: In humid regions like parts of South America or coastal North America, faster drying times are crucial. Ensure peripherals are completely dry before reconnecting to prevent moisture damage. Using silica gel packets near your setup can also help manage ambient moisture.
- Dust: Drier, dustier regions, common in certain parts of Europe or the American Midwest, might require more frequent compressed air blasts. If you live in an area with high pollen counts, this also applies.
- Allergies: For gamers in any region with dust allergies, a clean setup isn’t just about performance; it’s about health. HEPA air filters in your room can significantly reduce airborne particles that settle on your gear.
Cable Management: An Often Overlooked Detail
Messy cables aren’t just an eyesore; they’re dust traps. Regularly tidy your cables with Velcro ties or cable sleeves. This makes it easier to clean around your setup and reduces the surface area for dust to accumulate.
The Best Multiplayer Games for Long-Distance Friends and Families
Monitor Cleaning: A Clear View
While not strictly ‘gear’ in the same sense as input devices, a clean monitor is vital. Use a dedicated screen cleaner and a microfiber cloth. Never spray cleaner directly onto the screen; spray it onto the cloth first. Avoid ammonia-based cleaners, which can damage anti-glare coatings.
FAQ: Common Questions About Keeping Your Gaming Gear Clean
How often should I clean my gaming keyboard?
For most PC gamers, a light clean with compressed air and a surface wipe once a week is recommended. A deeper clean, involving keycap removal, should be done once a month or every two months, depending on usage and how prone your environment is to dust and debris.
Can I use water to clean my gaming mouse or controller?
Only in very small, controlled amounts, primarily on a cloth and never directly on the device. Water can cause short circuits and corrosion. Isopropyl alcohol (70% or higher) is a much safer choice as it evaporates quickly and is effective at breaking down oils and grime without leaving residue.
What should I do if a key on my keyboard is sticking?
If a key is sticking, first try blasting compressed air around and under the keycap. If that doesn’t work, and you have a mechanical keyboard, carefully remove the keycap and clean the switch mechanism with a cotton swab lightly dampened with isopropyl alcohol. For membrane keyboards, deeper cleaning is harder, but repetitive presses and air blasts can sometimes dislodge debris.
How do I clean my headset’s microphone?
Gently wipe the microphone boom and any foam cover with a cotton swab lightly dampened with isopropyl alcohol. Be careful not to saturate the foam. For detachable foam covers, some can be gently hand-washed with mild soap and thoroughly air-dried, but always check your headset’s manual first.
Does keeping my gaming gear clean really extend its lifespan?
Absolutely. By preventing dust buildup, grime accumulation, and corrosion, you significantly reduce the risk of component failure. Clean gear runs more efficiently (e.g., cooler components), maintains better performance (e.g., responsive buttons, accurate tracking), and simply lasts longer, saving you money in the long run.
Is it safe to clean my gaming gear with household cleaners like glass cleaner?
No, it’s generally not safe. Many household cleaners contain ammonia, alcohol (in higher concentrations than safe for plastics), or other harsh chemicals that can damage the plastics, coatings, or finishes of your gaming gear. Stick to isopropyl alcohol for sanitizing and dedicated electronics cleaners, or mild soap and water for non-electronic surfaces like keycaps.
Final Thoughts on Preserving Your Setup
Keeping gaming gear clean and working longer isn’t a chore; it’s an investment in your hobby and your hardware. A clean setup not only looks better but performs better, ensuring you’re always at your best, whether you’re navigating the vast worlds of Steam, competing in high-stakes Fortnite matches, or exploring new adventures through Xbox Game Pass. Building these simple habits into your routine will pay dividends, preserving your equipment and your peace of mind. For more practical guides and tips to enhance your gaming experience, discover more gaming guides on Le Daily Post.